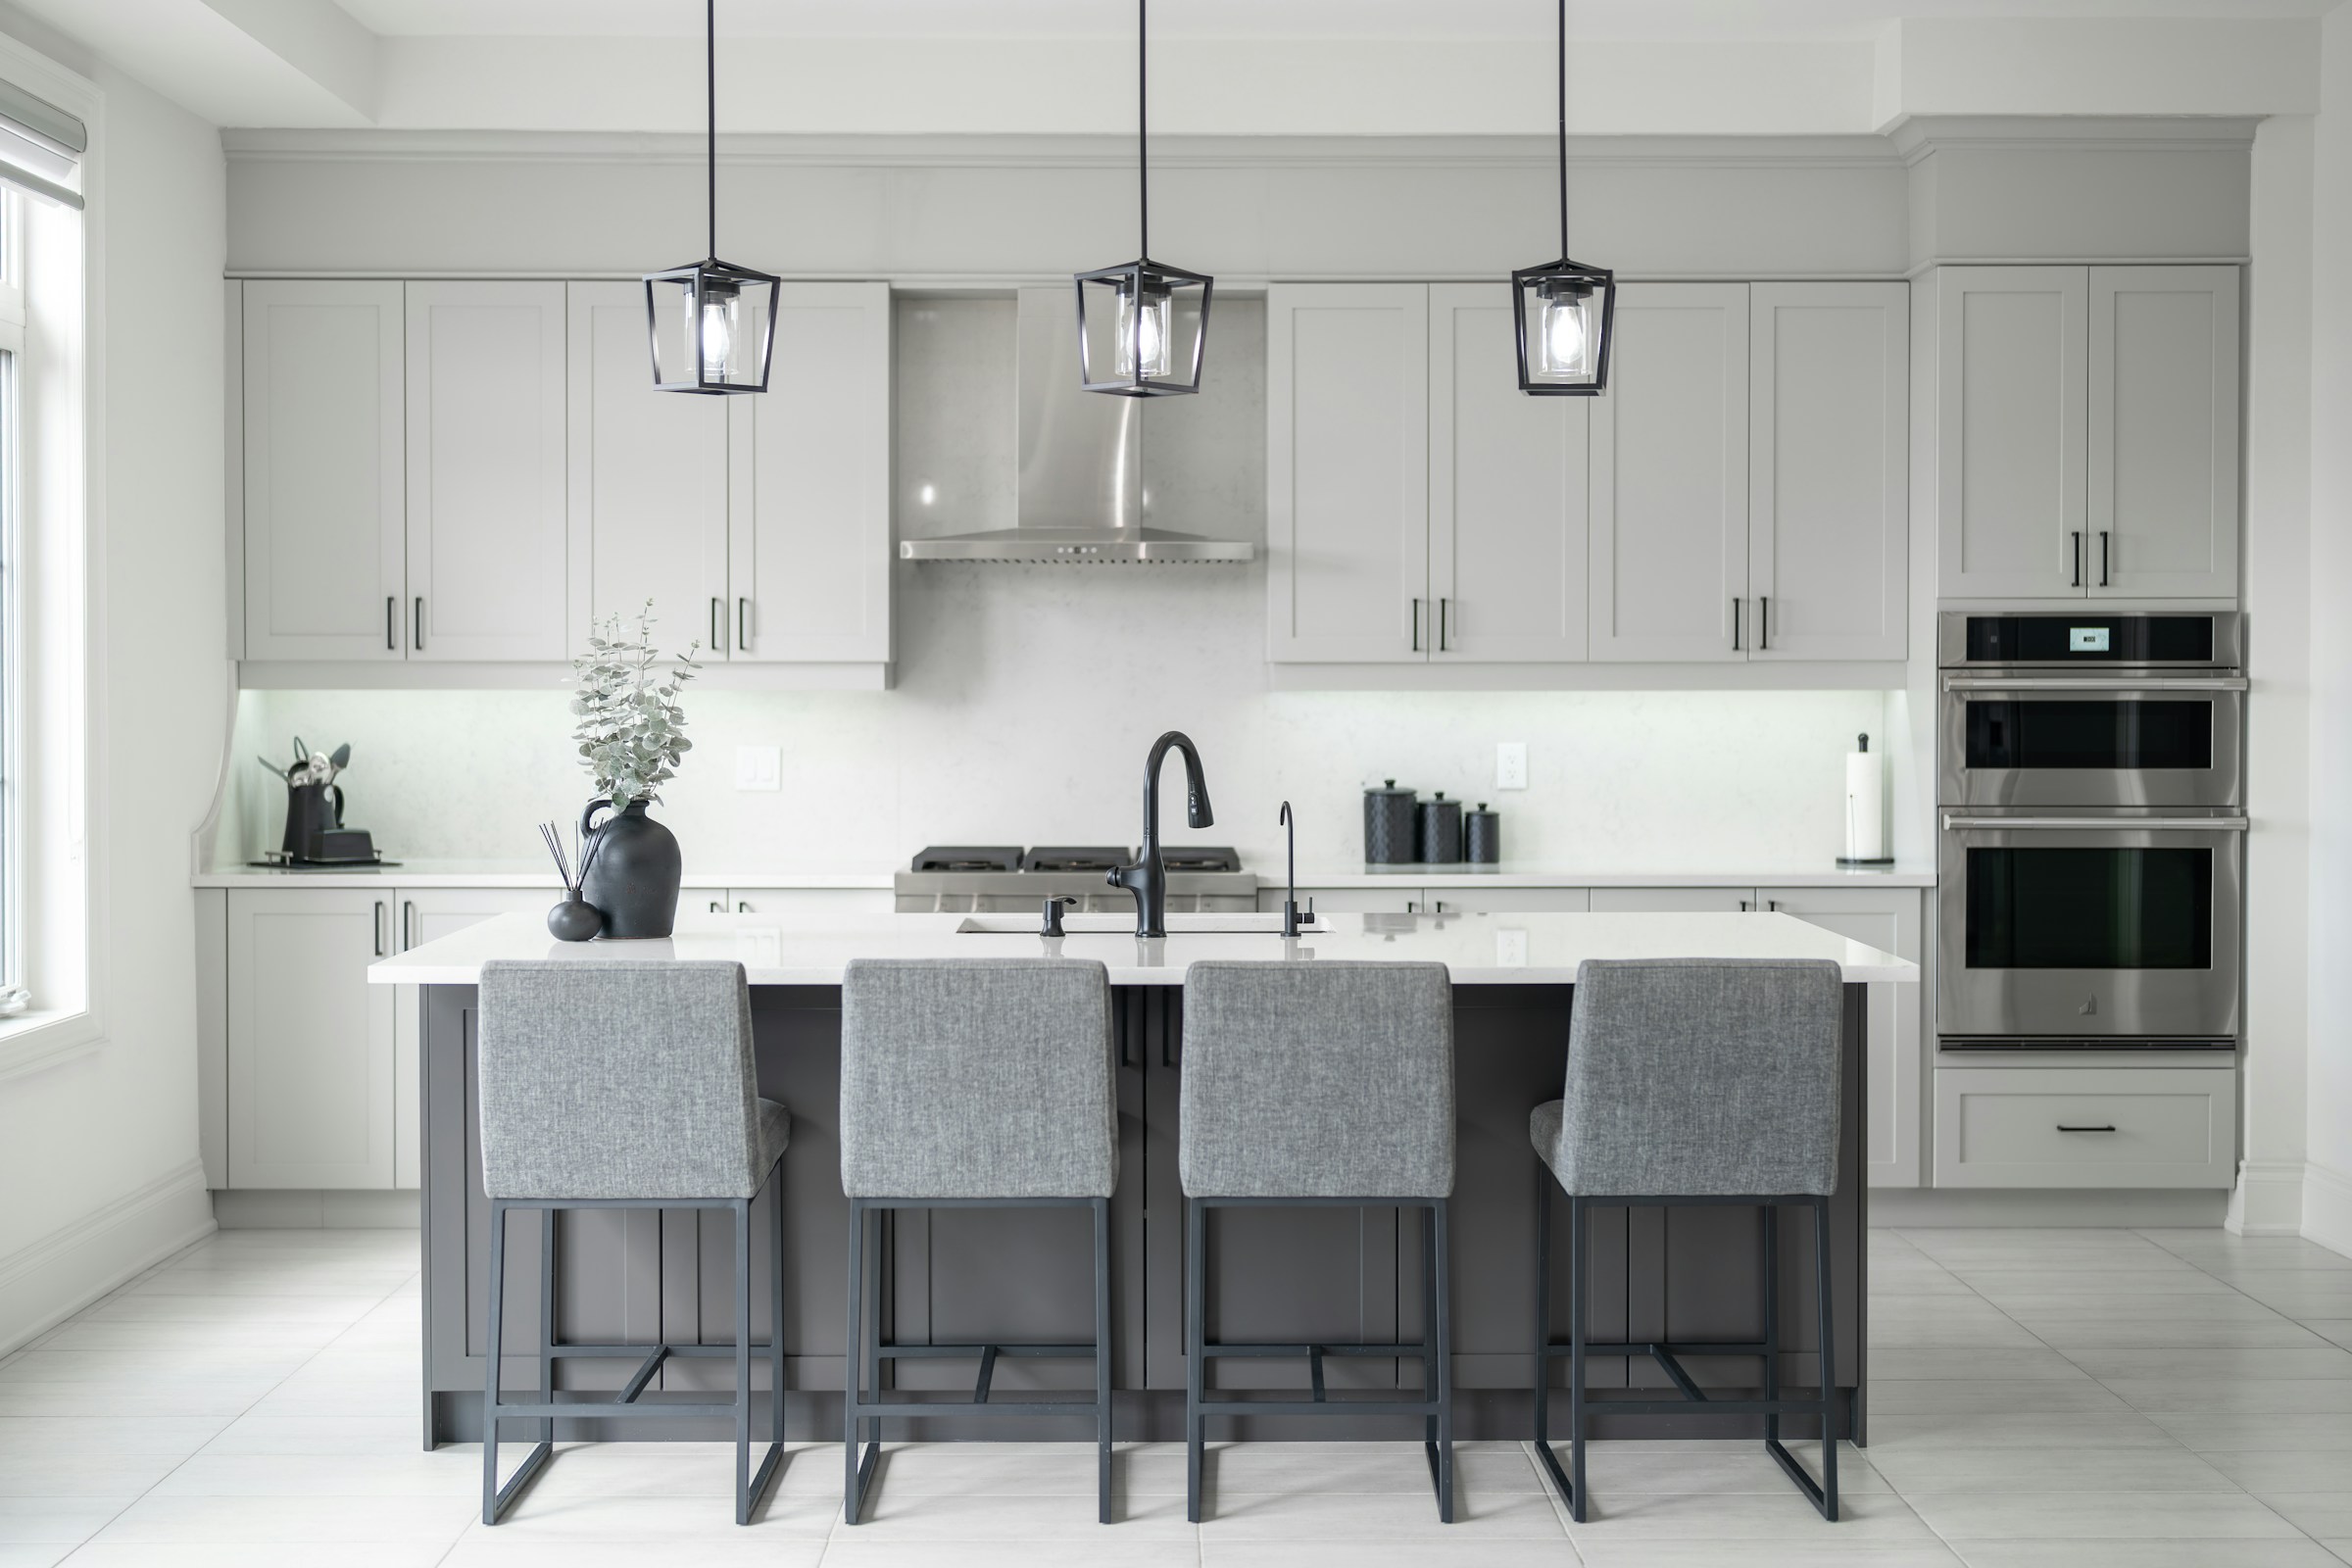
Why trim does so much of the visual work
Walk into a room with flat walls, a plain ceiling and a bare floor edge, and it can feel unfinished even when everything is clean and new. Add a baseboard, a casing around the doorway and a simple crown, and the same room suddenly feels settled. Trim draws lines. It tells your eye where the wall ends, where the door begins and where the ceiling meets the room.
Millwork is the broader word for shaped wood and wood like products that get installed after the structure is done. It includes baseboards, door and window casing, crown moulding, chair rail, wainscoting panels, built in shelving surrounds and the stool or apron under a window. In most homes you can think of it as the frame that holds the finished surfaces together.
The reason trim matters during a remodel is simple. New flooring, fresh paint and a new door all stop short of each other at some point, and the joint where they meet has to look intentional. Trim is how those joints are covered and finished. A good trim plan makes the other work look better, and a poor one makes expensive flooring look hurried.
Trim belongs in the scope from the start, not as an afterthought, because the details decided here show up in every glance for years afterward.
The pieces of trim, one room at a time
It helps to name the parts before you start choosing. The baseboard runs along the bottom of the wall where it meets the floor. Casing is the frame around a door opening or a window. Crown moulding sits at the top of the wall where it meets the ceiling. A chair rail is a horizontal band partway up the wall, and wainscoting is a decorated lower wall section that often sits beneath it.
Windows add a few terms of their own. The stool is the shelf like piece at the bottom of the window opening, the apron sits just below it, and the casing wraps the sides and top. Some homes, especially newer condos, have windows that are simply wrapped in drywall with no casing at all. That is a style, and some owners prefer it, but it is worth knowing it is a choice and not the only way.
Doors have a jamb, which is the lined opening the door sits in, plus casing on both faces. When people talk about changing a door look, they often mean changing the casing and the hardware together. If you are also thinking about the doors themselves, the guide on door styles and hardware covers that side in more detail.
A short tour of your own home with a notepad helps. Note which pieces exist, which are missing and which look mismatched.
- Baseboard: the board that protects the lower wall and hides the gap at the floor.
- Casing: the frame around doors and windows that covers the gap between the opening and the wall.
- Crown: the shaped piece at the ceiling line that softens the corner.
- Chair rail and wainscoting: lower wall details that add depth in dining rooms and hallways.
- Window stool and apron: the finished sill and the board beneath it.
Profiles and proportion: how to choose a shape
A profile is the shape you see if you cut the trim across its width. Some profiles are flat and square, some have a soft rounded top, and some have layered curves that cast small shadows. None of them is right everywhere. The better question is which profile fits the age and character of the house.
Proportion matters more than ornament. A tall baseboard in a room with a low ceiling can feel heavy, while a skinny baseboard in a room with high ceilings can look timid. A useful habit is to keep the baseboard, casing and crown in the same visual family, so the pieces look like they belong together even if their sizes differ. Door casing is often a little narrower than the baseboard is tall, or the reverse, but the two should feel related.
Clean, flat profiles tend to suit modern condos and updated townhomes. Gently curved profiles suit traditional layouts. Older block homes in Broward often have a plainer, simpler original trim, and a modest upgrade in height can transform them without making them look fussy.
Do not choose from a small sample alone. A short piece held in your hand looks nothing like thirty feet of it running along a wall. Ask to see a longer length, or look at a finished example in person, and picture it with your paint color and your flooring beside it.
Wood, MDF, PVC and composite: matching material to humidity
In South Florida the material question is really a moisture question. Solid wood trim is beautiful and takes paint well, but it moves with changes in humidity, and it can swell, split at joints or take on moisture at the floor line. MDF, which is a pressed fiber board, is smooth and paints cleanly, but it absorbs water at cut edges and does poorly if it ever gets wet.
PVC and similar composite trim does not rot and does not feed on moisture, which is why it is common in bathrooms, laundry rooms, covered patios and exterior details. It can look slightly different from wood when painted, and it expands and contracts with heat, so installers leave small allowances at joints. Ask which material is planned for each room, because it is perfectly reasonable to use more than one.
A sensible approach is to match the material to the exposure. Dry living areas can use wood or MDF. Rooms that see steam, mops or plumbing, such as bathrooms and laundry rooms, benefit from moisture resistant options at the floor line in particular. Exterior casing near doors and windows should be made for the outdoors, not borrowed from an indoor plan.
The guide on humidity and your renovation explains why this region treats moisture as a design input, and it pairs well with this section if you are weighing materials.
Baseboards: more than a border
A baseboard protects the bottom of the wall from vacuum heads, mop buckets, furniture and shoes. It also covers the small gap that always exists where a floor meets a wall. Because floors are rarely perfectly flat, a baseboard with a flexible bottom edge or a separate small piece at the floor can follow the surface better than a single rigid board.
Height is the first decision. Taller baseboards read as more formal and cover more wall, and shorter ones feel lighter and more contemporary. In a house with tile floors, a taller baseboard can also hide the transition from tile to wall, which can be uneven. If your floors are being replaced, plan to decide on the baseboard at the same time, because the new flooring thickness changes how the board sits.
Think about where baseboards end. They meet door casing, built in cabinets, tile showers, stair stringers and fireplaces, and each of those meetings needs a clean solution. A thicker baseboard than the casing causes an awkward overhang at the door, so the usual fix is to choose casing that is at least as thick as the baseboard so the baseboard can end against it cleanly.
If you have ever noticed a baseboard that seems to float above the floor or has a visible dark gap, that usually comes from uneven flooring or from trim installed before the floor work was finished. The order of work matters, and the renovation sequence guide walks through why.
Door and window casing that finishes the opening
Casing has a practical job and a visual one. Practically, it covers the gap between the jamb and the wall, a gap that is needed so the door or window can be set square. Visually, it frames the opening and gives your eye an edge to rest on, so the doorway reads as a clear shape rather than a hole.
One common choice is whether to use mitered corners, where two pieces meet at an angle, or butted corners, where a plain head piece sits across the tops of the side pieces. Mitered corners look more traditional and flow smoothly. Butted corners, sometimes with a small decorative block at the top, are simpler and can look crisp and a little more craftsman in style. Both can look excellent when they are done carefully.
Window casing deserves its own plan. A wrapped, drywall return window has a clean modern look and is common in condos, but a fully cased window with a stool and apron gives a room a more built and traditional feel. If you are replacing windows at the same time, coordinate the two so the trim can be sized and installed right after the new units are set. The page on impact window installation describes how window projects usually proceed.
Interior doors in a row, such as in a hallway of bedrooms, look right when the casing is consistent from one to the next. If a few doors have older casing and a few are new, expect the contrast to be obvious once painted.
Crown moulding and ceiling transitions
Crown is the most visible decorative trim in many homes and also the easiest to overdo. It softens the hard corner where the wall meets the ceiling, and it can make a room feel taller or more formal. In a room with a low ceiling, a large crown can feel like it presses down, so scale it to the height of the room.
There are options for ceilings that have texture, popcorn finish or slight waves. Crown can hide some of those edges, but it cannot make a rough or uneven ceiling look flat. If you plan to smooth the ceiling, do that first, as covered under drywall repair and finishing, and then add the crown on a clean base.
Some homeowners prefer a clean, no crown look and instead use a simple shadow line or a flat cove. This suits modern rooms well but demands very straight walls and ceilings, since there is nothing to hide the variation. Other owners like layered crown with a flat band below it, which can be built up in stages and added over time.
If you are also considering lighting changes, think about the whole ceiling together rather than one item at a time.
Wainscoting, panels and built in details
Panel details bring texture to plain walls. Flat panels made of simple boards applied to the wall give a clean, shaker like look. Raised panels feel more traditional. Board and batten, which uses tall, narrow strips over a flat backer, can make a small entry or hallway feel designed rather than leftover.
These details are especially effective where walls take wear. Dining rooms, hallways, kids rooms and mudroom spaces all benefit from a lower wall treatment that handles bumps and scuffs better than flat paint. They also solve a layout problem: a wall that looks too tall or too empty can be balanced with a horizontal line at the right height.
Built in storage, such as a window seat, a bookcase surround or a closet face frame, is millwork in a bigger form. The way these pieces tie into the surrounding baseboard and crown tells you whether they were planned or added later. If you are thinking about storage, the page on closet and storage build outs shows how that kind of work is approached.
A word of caution on wall panels in humid rooms. Wood and board materials exposed to bathroom steam can swell or peel, so choose a moisture resistant option there, or skip the lower panel and use tile or a painted surface that handles water.
- Flat panel wainscoting works well in dining rooms and entry halls.
- Board and batten is a good match for hallways, laundry rooms and mudroom spaces.
- Chair rail alone is a modest way to divide a wall without full panels.
- Built in surrounds around windows and closets should be planned with the baseboard and crown.
Paint, caulk and the finishing details people skip
The difference between trim that looks professional and trim that looks homemade is usually in the last few steps. Nail holes get filled, joints get caulked, and the whole surface gets sanded smooth before paint. Skipping any of these steps leaves shadows and gaps that grab the eye in daylight.
Caulk is not just for looks. In a humid climate, a thin, well applied bead where trim meets the wall helps keep moving air and dust from creeping into gaps. It also lets the trim shift slightly with the seasons without cracking the paint. Wood needs a flexible caulk that can stretch, since a rigid filler will crack as soon as the house moves.
Sheen choice affects how trim reads. A satin or semi gloss finish is a common choice on trim because it wipes clean and stands out gently from a flat or matte wall. The guide on paint sheen explains how different levels look in real light and where each belongs.
Finally, think about when painting happens. Many crews prefer a final coat of paint after trim goes in so the whole room matches. Ask how your project will be sequenced, and see the interior painting and finishes page for context.
Planning trim with the rest of the project
Trim touches almost every other trade, which is why it is smartest to plan it early and installed late. Flooring should be in place before baseboards are fitted so the boards sit at the correct height. Doors should be hung before casing is installed. Drywall and ceiling work must be finished and sanded before crown goes up. When the order is wrong, trim has to be taken off and put back, which damages edges and costs extra time.
A written scope helps keep all of this clear. When you go over the scope with the crew after the walkthrough, look for the trim details: the height and style of the baseboard, the type of casing, whether crown is included, which rooms get which material and who is responsible for paint. The article on reading a written scope shows how to catch missing pieces before they become surprises.
Selections matter too. Decide on a trim style when you pick tile, flooring and fixtures, because they all have to look right together. The guide on selecting fixtures and finishes can help you keep those choices consistent.
Prices depend on the scope, the materials and the number of linear feet involved, and they are discussed after a walkthrough, not guessed at over the phone. A project that starts with a call and a visit usually produces a clearer plan for trim than one described in general terms.
If your home is in a condo or a community with an association, ask them about work hours, materials and delivery rules before anything is ordered. Requirements vary, so check with your association and your city rather than assuming.
Where trim shows up in real Broward homes
Homes across the county present different trim situations. An older block house in Hollywood may have narrow original baseboards, plain door frames and flat ceilings, and a measured upgrade in height can bring the whole house up to date. A townhome in Plantation or Davie may have a builder grade baseboard that is thin and plain, and a taller, cleaner profile changes its character. A condo near the water often has limited trim by design, so owners add it selectively to rooms where it matters most.
These are general examples, not claims about particular buildings, and every home needs its own walkthrough. You can read about local project help on pages such as Hollywood, Plantation and Davie, which describe how projects are approached in those places in general terms.
Floors that were replaced with a different thickness often cause the most visible trim issues. When tile or vinyl is installed beside an existing hardwood, or a threshold is added at a doorway, the baseboard and casing may need to be adjusted. If you have noticed awkward steps where one floor meets another, the page on uneven or damaged tile transitions goes into causes and fixes, and many of those fixes finish with a small piece of trim.
The most reliable way to get a trim plan that suits your house is to walk the home with someone who can see the floors, ceilings, walls and doors together. Start with a phone call, and the scope is discussed before work begins.
Common questions
What is the difference between trim and millwork?
The words overlap a lot. Trim usually means the simple finishing pieces such as baseboards, door and window casing and crown. Millwork is the wider term, covering those pieces plus panels, built in surrounds, shelving faces and other shaped wood work. In practice, most people use both words for the same finishing layer.
Should I replace trim when I replace my flooring?
It is worth planning together. New flooring can change the thickness at the wall, and old baseboards often get damaged coming off. Many owners choose to replace or reset baseboards at the same time so the finished edge looks even. Door casing may also need adjusting where the new floor meets it, so raise this at the walkthrough.
Which trim material holds up well in South Florida humidity?
Moisture resistant materials such as PVC and composite trim handle humidity and splashing well, which is why they are common in bathrooms, laundry rooms and exterior spots. Painted wood and MDF can work in dry living areas when well sealed and caulked. The right choice depends on the room, so ask which material is planned for each space.
Can trim hide an uneven wall or ceiling?
A little, but not a lot. Baseboard and crown can cover small gaps, and caulk fills tiny ones. Walls that are badly wavy or ceilings that are noticeably out of level still show through. If surfaces need to be flattened or repaired first, that work should happen before trim goes on so the final lines look straight.
How tall should my baseboards be?
There is no single answer, since it depends on ceiling height, the style of the home and your flooring. Taller boards look more formal and suit higher ceilings. Shorter ones feel lighter. A good test is to hold a long sample against the wall in the actual room, and to keep the baseboard in proportion with your door casing.
Do I need to ask my condo association before adding trim?
Often it is worth asking. Many associations have rules about work hours, deliveries, noise and materials, and some require approval for interior changes. Requirements vary from one building to the next, so check with your association and your city before work is scheduled and ordered.


